Email Signature as a Template

Quick Steps

Open your preferred Browser.

Go to Outlook.com, and "Sign-in"

Click on File
Click on Options (bottom left)

Click "+ New signature", to create a new Signature.

Give a new name for your signature

Populate the "signature box" with your desired signature or template


You can now see a list of all your signatures in the signature dropdown.

You can edit them or set them as the default.

Create New Email

Click on Signature icon

Select your Signature / Template

When ready click Send!

Keyboard Shortcuts

From your desktop:
Open Browser + "Outlook.com" + Enter

With Outlook.com active:
Press "Tab" until Settings icon is highlighted + Enter / Space

Press "Tab" twice to entre the second column. Press the "Down Arrow" to select "Compose and reply" + Enter / Space

With the Outlook Options window open:
Press "Tab" until "+ New signature is selected" + Enter / Space

Type your signature name

Press "Tab" to move to the signature body

Type your signature body text

Press "Tab" until Save is highlgihted + Enter / Space

Press ESC then select Save + Enter / Space to save and exit

With Outlook.com open:
Press N to compose a new message

Type in the "To:" feild

Press "Tab" to go to the subject line

Type in the subject of your email

Press "Tab" to go to the body of your email

NOTE: Use mouse to click "Signature" icon to insert your signature or template.

Select a signature from the drop down.

Click Send when ready!

Full Tutorial

Using an Email Signature as a Template

All modern email apps and providers have the ability to insert an email signature. An email signature is a snippet of text placed at the bottom of each email which conveys certain details about the sender of the email. A signature may include the sender’s name, contact details, picture or other information. You most likely have seen email signatures, but did you ever think of using them differently?

Email signatures are a neat little feature that makes it quick, easy, and often automatic to include a salutation, contact information and signature at the bottom of your email communications. However, you can take this neat little feature even further when you start to think other types of information that can be placed in the signature field.

Who said that email signatures must include salutations and contact details that we are all familiar with? What if we use this feature to accomplish other efficiencies in our daily workflow?

Lets take a look at some examples of using email signatures as templates:

Standard Signature

We’ve all seen them before. Sincerely, Best Regards, and Many Thanks; salutations along with contact details is the most common use for email signatures. A typical email signature goes a long way when communicating with others to get them to know you a little better.

Sincerely,

Johnny App
Team Lead, Creative Design

Thinq App Labs Inc.
2137 Shantz Station Rd. Unit Q
Breslau ON, N0B 1M0

Common Response

Through your daily work you may find yourself repeating responses time and time again to many individuals. It may be a repeat message or something more lengthy. Even if you have to repeat a response just once, you might be better off considering using an email template to improve your workflow.

You can enter in any common response that you find yourself sending multiple times a day or every week.

Thank You for your Email

Our team is actively looking into your request and will get back to you shortly.
You can find additional resources at the About Us page.

Regards,

The Customer Support Team

Frequently Asked Questions

When you are dealing with a lot of incoming requests or questions teams often publish Frequently Asked Questions on a website or internal message board. Taking FAQs even further, you may even want to create a dedicated email signature that captures FAQs that you receive on a regular basis as party of your role or daily work.

This mailbox is not actively monitored.

Please Visit our Help Page for Instruction on how to Contact and Customer Service Manager

Additional details are available below:

  1. How to log in to your email account?
    • Please navigate to the login page of your email provider (Outlook, Gmail, Yahoo)
    • Enter your username or email address
    • Enter the password for your email account, click Login
  2. How can I find up to date contact information?
    • Visit our Help Center. At the bottom you can find up to date contact details based on your location.
    • Alternatively, you can submit a request here.
  3. How long does it take to review an app?
    • Reviews are completed via our App Review Process. Each phase of a review has detailed steps and deliverables before a review is created and shared with our community. Learn more here.
  4. How do I Get Better at Tech?
    • We are glad you asked! Thinq app is your go to platform for training, tutorials and getting better at using the technology you already have!

How To Procedures

Telling people how to do something is a common response. You can create mini procedures or tutorials on how to complete certain tasks. Maybe you frequently get asked how to change a password or how do you send over that new budget for approval. You can create a signature template with screenshots and everything to quickly share steps with colleagues, customers or anyone you communicate with.

How to change your password?

Please follow the steps below:

  1. Click on “forgot password”

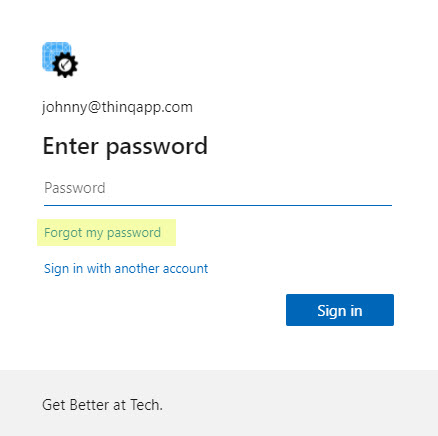
  1. Enter your new password
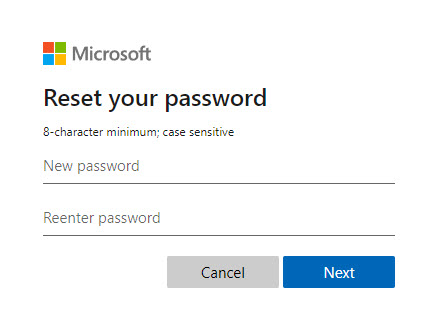
  2. Follow the steps to create a new password


Insert a Coupon, Barcode or Image

A more technical or unique way of sharing content is you can include barcodes, coupons or other images in special use cases that you share on a frequent basis. This can be appended to any email chain as you forward the email chain for intake to a scanning department or automated system that may need to action an email based on body text.

barcode get better at tech

Document Name: New Customer Proposal

Document Number: 2020-01-01_PROP_01

Recipient: Susan Taylor

Project Lead: Johnathan App

qr code thinq app

Detailed Steps

Given the flexibility of email signatures, using our new found technique is as simple as creating a new signature and then using it when the need arises. 

Creating a Signature or Template

First we need to create an email signature or template of your choice. You can use the copy button to quickly use one of the examples from the prior section.

Launch Outlook

Open your preferred Browser.

Go to Outlook.com, and “Sign-in

Open Settings and go to Compose & Reply

Once you have the main Outlook.com window open, we need to open Outlook Settings.

Click on Settigns gear icon (top right)
Within the Mail tab, Click on Compose & Reply (second column)

Create New Signature or Template

Within the Outlook Settings window, in the right side panel. 

Click on the “+ New signature” button

You will now see two text boxes, the first smaller text box is for the name of your email sigature or template. The second text box is the body section of your signature where you will enter the full email signature or template. What you enter in the body of the email signature is what will be included in your email.

Enter a name to give your new signature a name.

Then, populate the signature box with your desired signature or template.

See a List of Signatures

Once you have created at least one email signature you can now see a drop-down list of all the signatures you have created.

You can click on one to view it and edit the email signature.

At the bottom you can also set the default email signature.

Once done, click Save and close the Settings window.

Start Using Your New Signature

With your new signature created and ready you can start using your signature as part of your daily workflow. You can set a signature as a default for an email account. You can quickly add or change the signature within an email when you need to respond with a common response, FAQ or template.

Quickly Respond with a Signature or Template

If you are replying to an email or creating a new email you can easily insert one of your previously create signatures or templates directly in your email message window.

Click on the New Email button

Click on the Signature icon

Select your Signature / Template

Make any finishing touches, and voila you’re Ready to Send!

Facebook
Twitter
LinkedIn
Email

Leave a Reply

Your email address will not be published. Required fields are marked *

This site uses Akismet to reduce spam. Learn how your comment data is processed.

More to explorer

Thank you

Someone from our friendly thinq app team will be in touch with you shortly. 
We look forward to helping you and your team get better at tech!